80/20: Plate Connector Overview

To Purchase: https://bit.ly/3qP48ZH
Find in Catalog: https://bit.ly/428g7iZ
80/20 Website: https://bit.ly/3peM7n3
Hello, and welcome to 80/20's product highlight series. Today we're going to take a look at the plate connector. This connector is a great choice when it comes to making a flush, 90 degree connection.
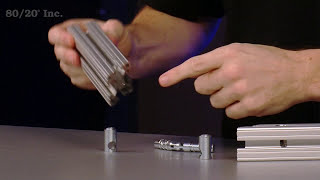
The plate connector comes as a stand alone part. However, installing it, you'll need one lobe screw, two bolts, and two Tnuts. Along with your hardware, you'll also need one of your bars machined with an end tap in it. Recommended bolt assemblies and machining services for the plate connector can be found in the 80/20 product catalog.
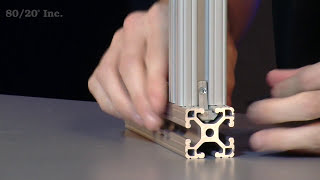
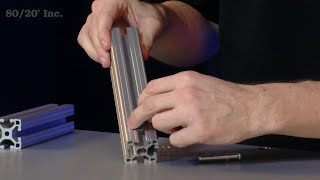
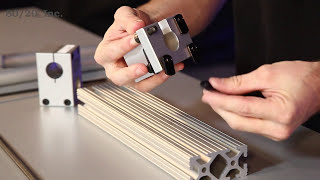
Now when it comes to installing the plate connector, you're going to take your plate, and place it over your end tapped bar. From there we'll take our lobe screw and put it into the end tap. We'll grab our wrench and tighten it down. At this point we're ready for our bolts with the preloaded Tnuts in them. We'll take those and place them in the open slots of the plate connector. We'll grab our other bar, and put the Tnuts through the open Tslot. We'll find our desired location on the bar, and tighten down with our wrench.
Now the great thing about the plate connector is its adjustability. If you need a new location on the bar, simply loosen your bolts, find the new location on your bar, and tighten the bolts back down. Once you have that tightened, you have a strong, flush connection.
I hope you found this segment on the plate connector helpful. For more information, visit 8020.net and make sure to subscribe to future 80/20 videos. And as always, make it a great day.