Tech Tips: The Do’s and Don’ts of Body Filler

Tom Cornelius, 3M application engineer, shares best practices, tips and tricks for mixing and spreading body filler.
Important notes (00:24)
Wear proper PPE: safety glasses, protective gloves, respirator. This video is intended for a professional setting such as a body shop or paint shop.
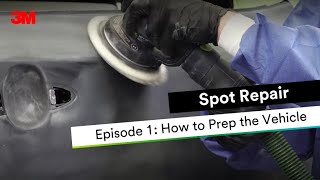
Step 1: Clean thoroughly (00:40)
Use soap and water as well as a solventbased wax and grease remover.
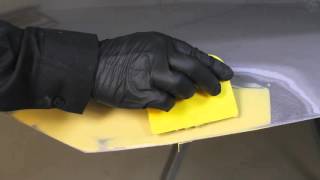
Step 2: Sand with 80 grit on a DA (01:14)
Sand 2 to 4 inches beyond the damaged area down to bare metal.
Step 3: Remove pitted paint at center of dent (02:08)
There are a few options for this, but a handy tip is to use the 3M™ File Belt Sander.
Step 4: Reclean the area (02:42)
Again, use a folded paper towel and a solventbased wax and grease remover.
Best practice: Apply body filler quickly after cleaning (03:27)
Apply within 30 minutes for steel and within an hour for aluminum.
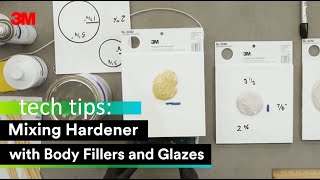
Step 5: Mix filler (03:41)
Only use 3M™ hardener with 3M™ filler. Make sure to knead the hardener and use the correct amounts and proportions to get a 50 to 1 ratio. Fold and flatten instead of stirring, which can introduce air.
Step 6: Flatten body filler across mixing board (05:42)
This will force out any air and extend work time of filler.
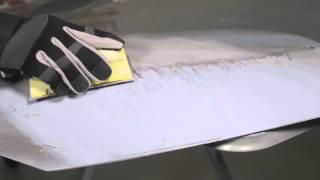
Step 7: Apply filler (06:08)
Start with a tight coat and follow with thin build coats. Let cure, then sand.
Best practice: Do not exceed a quarterinch in any single application of body filler (07:08)
This is to avoid air entrapment and other issues. Refer to your OEM recommendations for more information.
Best practice: Use a mixing board (07:28)
Cardboard and other substrates often have contaminants like wax, fibers and inks, as well as grooves that can cause air entrapment.
Important note:
There are of course many factors and variables that can affect an individual repair, so the technician and repair facility need to evaluate each specific application and repair process, including relevant vehicle, part and OEM guidelines, and determine what is appropriate for that repair.
Products used in this video:
3M™ File Belt Sanders for Body Repair
https://www.3m.com/3M/en_US/companyu...
3M™ Cubitron™ II Hookit™ Clean Sanding Abrasive Discs 737U
https://www.3m.com/3M/en_US/companyu...
3M™ Platinum™ Plus Filler
https://www.3m.com/3M/en_US/companyu...
3M™ Cream Hardener
https://www.3m.com/3M/en_US/companyu...
3M™ Disposable Paper Mixing Board
https://www.3m.com/3M/en_US/companyu...
For more advanced tutorials, check out 3M Collision Repair Academy
https://www.3m.com/3M/en_US/collision...
You’ll find courses that will expand your knowledge, deliver practical procedures that you can use right away, and, in many cases, earn you ICAR credits.
Safety and warranty information
https://www.3m.com/3M/en_US/collision...
Website: https://www.3MCollision.com/
Instagram: / 3mcollision
Facebook: / 3mcollision