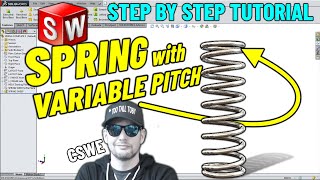
SolidWorks Tutorial: Variable Pitch Spring

In this SolidWorks Tutorial, we go through how to create a variable pitch spring with closed ends using the helix feature.
Music:
At the TopCamtasia Audio Library
• At the Top [Camtasia Audio Library]
Rough script:
Good Afternoon Everyone,
In todays video we’re going to go over how to model a Variable Pitch Spring in Solidworks.
Before we begin, let’s go over some quick Spring nomenclature.
(Show spring nomenclature diagram).
The Pitch of the spring is the displacement of one revolution of a spring
The Wire Diameter(d) is the crosssectional diameter of the spring wire.
D_e is the outer diameter of the Spring
D_i is the inner diameter of the Spring
D is the Mean Spring Diameter
L_o is the springs free length, meaning the length when no load is applied to the spring.
Alpha(Greek letter) is the Coil Angle of the pitch
Ok, now we’re ready to get started.
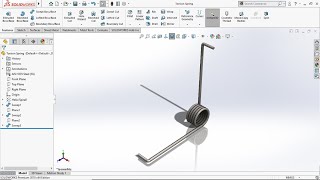
Here we have a simple spring that I pulled out of a clickretractable pen.
Notice how the ends of the spring are closed, meaning they have a pitch that is just over the diameter of the wire, while the center of the spring has a much larger pitch. This is done using a variable pitch helix/spiral curve in Solidworks, using this tool a table can be created, such as this one here, which allows you to control parameters for individual segments of the spring.
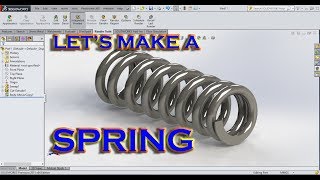
Let’s open up a new window in SolidWorks
Start Project
Our first step is to create a circle on the to plane of the part. We’ll set the circle to be the mean spring diameter(0.14950 inches)
Now we’ll go to the command Manager and expand the curves dropdown menu and select Helix and Spiral while the sketch is selected.
The Helix/spiral interface opens on the property manager.
We’ll set the defined by dropdown to Pitch and Revolution. These are going to be our input parameters, but you have other options, as you can see here.
We can have a constant or variable pitch. We’ll select variable and enter in the parameters for our spring.
Each row in the table indicates a segment of the spring. The entered pitch value is the value at the end of the segment. The Rev(or height) defined the position of the segment along the length of the spring.
The pitch starts off at 0.01450 inches
We want to the spring to have two revisions at that pitch, so we’ll set rev to 2 for the second row.
Now we want to change the pitch to 0.1 inches. For the rev, we’ll set it to 3 because we want the spring to reach that pitch in one revolution. If, for instance we wanted the spring to gradually expand from 0.01450 to 0.1 inches over the course of 5 revolutions, we’d set the rev value to 7 inches.
We now want the spring to have a pitch of 0.1 on for a length of seven revolutions.
Now we’ll transition back to the closed end by setting the pitch to .01450 for one revolution.
And finally, we’ll add three revolutions at that pitch to close off the end.
And hit the green check box to create the feature.
We’ll now create a circular profile sweep, selecting the helix as our path and setting the diameter to 0.0140 inches.
And hit ok.
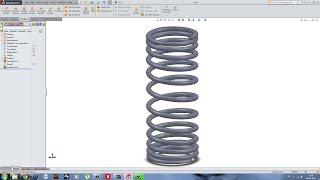
And now we have our nice spring.
This concludes our quick Variable pitch spring Solidworks tutorial. If you enjoyed this video, please be sure to hit the like button and subscribe to get notifications about future videos on the channel.
Table:
Pitch[in] Rev Height[in] D [in]
0.0145 0 0 0.1495
0.0145 2 0.029 0.1495
0.1 3 0.08625 0.1495
0.1 10 0.78625 0.1495
0.0145 11 0.8435 0.1495
0.0145 13 0.8725 0.1495
#Solidworkstutorial
#Solidworkstutorialforbegineers
#Solidworks
#KrawchukIndustries