HOW WE POWER OUR VAN - Wire u0026 Install 400W Renogy Solar Power | Off-Grid System

In this video, you will learn how to install a 400 Watt Premium Renogy Solar Kit stepbystep. We hope with this video that you find it to be even easier! If you have any questions, please comment below, reach out on Instagram, or contact us through the website! Materials are linked below.
Materials we used:
400 Watt Premium Kit (cheaper on AMZN): https://amzn.to/3uYKQjH
3 100 AH Lithium Ion Batteries: https://amzn.to/3FIX6L8
3000 Watt Inverter: https://amzn.to/3HsJMvI
Victron Lynx Distributor: https://amzn.to/3uCn24S
Cable Entry Housing: https://amzn.to/3Bs66Sh
3M VHB Tape: https://amzn.to/3PjFkBj
Drill: https://amzn.to/3PjDnok
Hole saw: https://amzn.to/3PiOPkr
Roof Sealant https://amzn.to/3uHpeIo
Silicone https://amzn.to/3Flold9
Caulk Gun https://amzn.to/3Bp3PaB
Electrical Tape https://amzn.to/3WbVX4h
Timestamps:
0:000:37 Intro
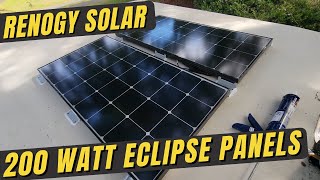
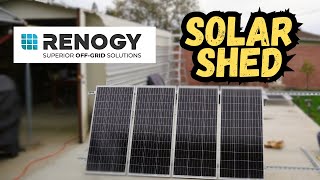
0:382:12 Renogy 400W Premium Kit Parts
2:133:30 Orientation and Assembling Panels
3:314:21 MPPT and Series Connections
4:226:50 InLine Fuse and Wire Connection
6:518:37 Cable Entry Housing
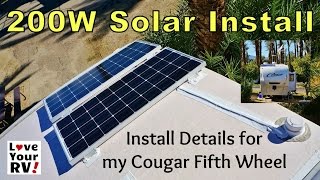
8:389:00 Wall Installation
9:01 10:49 Charge Controller and Electrical
10:50 11:46 Outro
Zak and Fal Info:
Instagram: @zakandfal
Website/Blog: