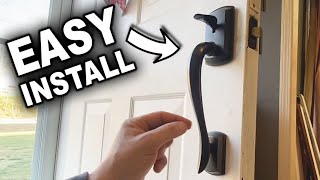
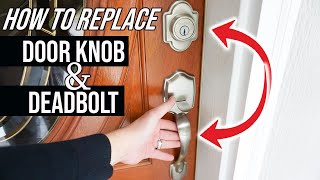
How to Replace a Front Door Handle in 5 Minutes!

You can replace your front door handle set in just a few minutes and use basic tools. It’s fast and easy let us show you how!
#frontdoorknob #handleset #schlage #kwikset
Buy your DFJ Tshirt, Cap, or Coffee Mug at https://www.dirtfarmerjay.com/shop
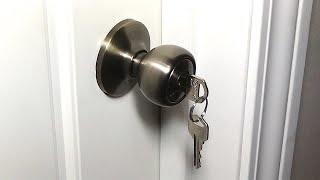
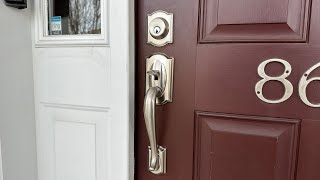
You may want to change your front or exterior door handle because you want a new look, or the unit is wearing out and not performing dependably. That’s why we made the change the unit was wearing out, and would lock us out from time to time, even though we had unlocked it from the outside and went out the door to water plants or get the mail.
We put off the replacement simply because of frugality. The switch should have been 4 or 5 years before to match the bronzecolored electronic “keyless” deadbolt that was installed just above it. Brass and Bronze don’t play that well together, but somehow we got used to it.
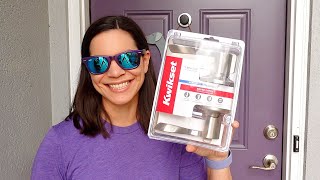
Our lockset of choice is a good consumer brand, Schlage®. Pronounced “SCHleg” you can verify this by visiting their video on pronunciation:
• Schlage Pronunciation
While we believe the Schlage® brand is of higher quality than other brands we’ve found in home improvement centers, the way that different brands are installed on your front door is essentially the same.
There is no loss of face by reading over the instructions for your particular handle set to see that any idiosyncrasies of your handle are addressed and that installation goes smoothly.
Here are some common facts related to doors themselves any good manufacturer will address this by having their product be adaptable to various sizes.
To start with, U.S. doors are typically 1⅜” (35mm) or 1¾” (44mm) thick. Our experience is that most exterior doors are 1¾” (44 mm) thick, but could be slightly thicker. So, make sure what you buy can be installed on your door.
Next, is what is called the backset. This is the distance from the edge of the door to the center of the hole where the lockset or door handle will be installed. The two common sizes in the U.S. are 2⅜” (60mm) and 2¾” (70mm). Most good handles can accommodate either.
Next, is the distance down from the center of the main mounting hole for the handle and latch, to the bottom hole where the bottom end of the handle will be attached to the door using the bottom bolt. This can vary a bit. Adjustability comes in handy here as well. The Schlage® unit adjusts from 8⅜” (213mm) to 9⅞” (251mm). Handy!
You’ll only need a mediumlength #2 Phillips screwdriver to do this remove and replace. You can use a cordless drilldriver, be sure not to overtighten if you do. Easy does it!
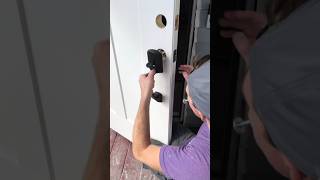
To replace, work from the edge in and from the top down. This will keep things in place until you remove them.
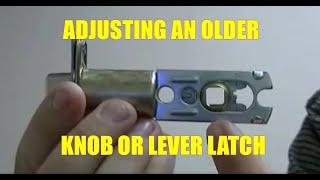
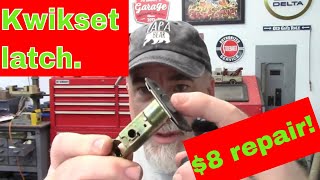
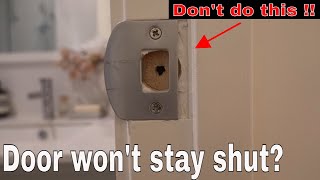
Remove the two screws that are holding in the latch/backset assembly. Then remove loosen the two screws that are adjacent to the interior handle, remove the interior knob or lever, and set it aside. Remove the throughbolt at the bottom of the handle while holding the handle on the outside (this avoids having it drop off the door) and then set it aside.
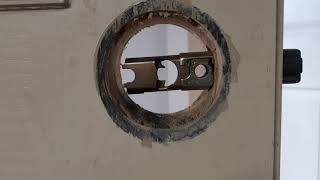
Now, remove the latch/backset.
You now have a “clean” door to install the new unit. Simply reverse your steps, but don’t tighten fasteners until everything is installed. Install the latch/backset first, taking care to orient the tapered side of the latch correctly, that is, towards the outside of the house.
Now install the outside handle, but don’t put the bottom bolt in yet. Align the posts and the blade that operates the latch, and slide them through the backset. Then place the inside knob or lever and align the blade and screw holes. Place the screws in from both sides of the base of the inside knob or lever and tighten them enough to hold the whole assembly together. Insert the bottom through bolt, and thread it into the decorative fastener on the inside of the door, but leave it loose.
Do a final check to see that everything is aligned and operates properly. This includes the latch extending and retracting its full distance, the thumblever presses down completely and extends and retracts the latch properly, and the inside knob or lever operates correctly and rotates back to the neutral position without any binding.
Now tighten each fastener, checking for proper operation as you do. Overtightening in any area will likely cause binding. So, if something doesn’t operate smoothly, loosen the fastener for that area of the handle set slightly to see if it will solve the problem. It most likely will.
Explaining the process seems lengthy, but this entire process takes about 5 minutes. It’s that easy.
JUST DO IT YOURSELF!
Instagram: / dirtfarmerj
Facebook: / dirtfarmerjay