How To Install Your Nest Doorbell With Existing Chime Wires

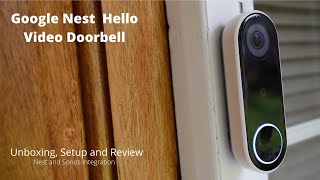
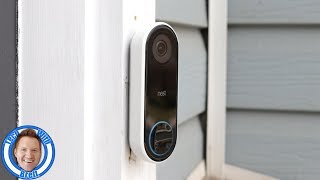
The batterypowered #NestDoorbell lets you see what’s happening at your door and answer it from anywhere.* And with intelligent alerts, you’ll only get notified about what matters most to you.
How to set up your Nest Doorbell:
1. Start the setup in the Google Home app by adding your Nest Doorbell and scanning the QR code on the back of the device.
2. Connect your device to your home WiFi and bring outside. The Nest Doorbell will light up green when it connects. You’ll want to make sure you have a strong connection where you’re installing the device.
3. For safety, turn off the power to your old doorbell and chime via your home electricity breaker box.
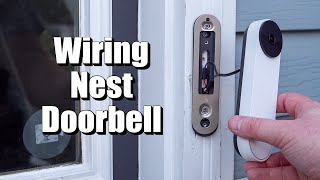
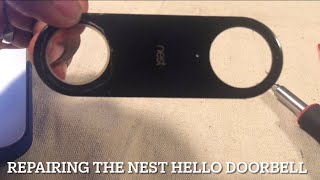
4. Remove the old doorbell and secure the Nest Doorbell base plate on the wall with the screws provided.
5. Feed the wires through the base plate and use the provided wire connectors to connect the wires together.
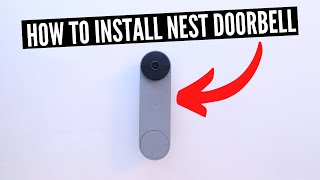
6. Push wires back into the wall and clip Nest Doorbell into the base plate. You will hear a click when it’s secure.
7. Turn the power back on. Once on, your Nest Doorbell should start recording live video.
8. Finish your Nest Doorbell setup by following along with the Google Home app.
*Some features, including mobile notifications, remote control, video streaming, and video recording, require working internet and WiFi.
September Description Update: Nest Doorbell (battery) requires the Google Home app and a Google Account – it’s not compatible with the Nest app or the home.nest.com site.
Follow us on social:
Made By Google Facebook: / madebygoogle
Made By Google Twitter: / madebygoogle
Made By Google Instagram: / madebygoogle
Google Nest Facebook: / googlenest