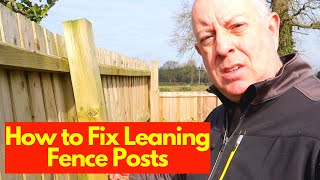
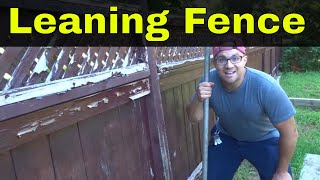
HOW TO: DIY Leaning Fence Repair WITHOUT removing panels: Quick u0026 Easy Method!

*DIY Fence Repair: Straighten Your Leaning Fence Without Removing Panels!*
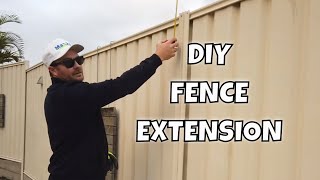
In this video we repair a colorbond good neighbour style fence, but this technique can be used for kind of fence!
Is your fence leaning and you're dreading the thought of taking it apart? Look no further! This stepbystep guide teaches you how to efficiently repair your fence without the hassle of removing panels in just 10 easy steps:
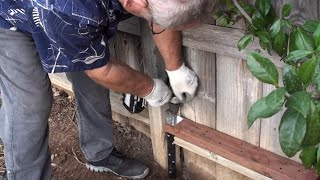
1. **Secure Rails**: Start by supporting the fence rails using wood chocks to ensure stability.
2. **Prep the Ground**: Carefully dig a narrow channel around the old footings.
3. **Jack Hammer Time**: Break off the concrete footings on one side using a jack hammer and clear the debris.
4. **Drilling**: With a 450mm by 100mm drill auger, excavate one side of the footing, removing the loosened soil.
5. **More Jack Hammering**: Hammer away the remaining footing into the hole and dispose of debris.
6. **Digging the Foundation**: Further excavate the foundation using the auger or hand tools to your desired depth, ensuring the foundation holes have squared bottoms.
7. **Bracing**: Align the fence post from bottom to top using wooden braces. If working on multiple fence posts, utilize a string line for alignment.
8. **Concrete Pour**: Prepare your concrete mix or have it delivered, and pour it into the freshly dug foundations.
9. **PostAlignment**: As the concrete sets, ensure the posts remain straight. If any post has shifted, realign it and ensure each one is level.
10. **Finishing Touches**: Let the concrete set for 24 hours. Afterwards, remove all braces.
Voila! Stand back and admire your now perfectly straight and sturdy fence. Save money and time with this efficient DIY approach. Don't forget to like, share, and subscribe for more DIY tips! #DIY #FenceRepair #HomeImprovement