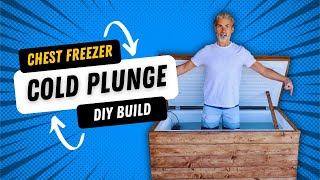
How To: DIY Affordable Chest Freezer Cold Plunge/Ice Bath

Links to the items and overall cost:
Chest Freezer: £80 Facebook Market Place
Aqua Shield Tanking Paste and 10m Tape: £8090
Silicone: £6
Thermostat: £34 https://www.amazon.co.uk/InkbirdITC...
Circulation/Filter Pump: £23 https://www.amazon.co.uk/AllPondSol...
Epsom Salt: £5 https://www.amazon.co.uk/Intelligent...
Hydrogen Peroxide: £10 https://www.amazon.co.uk/FoodGradeH...
Total: £248
Step 1: Clean chest freezer thoroughly, wipe down any chemical clean residue and allow to dry
Step 2: Seal all edges with Silicone and around drain plug and any screw holes or punctures.
Step 3: Apply waterproof tape(self adhesive) or tanking paste and apply tape. Ensure its roll/press down to remove air bubbles and allow it to stick properly.
Step 4: Apply 1st coat of tanking paste. Allow to dry
Step 5: Apply further coats as appropriate (I ended up doing 4)
Step 6: Double all edges/dints etc, apply more silicone if necessary and paste.
Step 7: Allow to fully dry
Step 8: Setup thermometer and water pump as per instructions (do not switch on yet)
Step 9: Fill 1/4 of your desired water level with water, check for any leaks.
Step 10: Fill to your desired water level, around the half way mark add 250ml Hydrogen Peroxide and a cup Epsom Salt (you can jump in to test how much it will rise and make sure it doesn’t go all the way to the top)
Step 11: Switch on power so the Thermometer feeds the Chest Freezer and Water Pump.
Step 12: Allow the water to cool to your desired temperature, this could be a matter of hours or overnight depending in your climate. You can add ice to drop the temperature quicker.
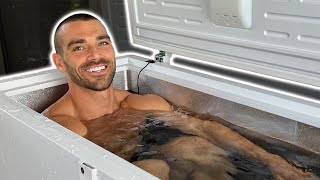
Step 13: Enjoy your new ice bath. All the best and leave a comment to tell me how you got on.