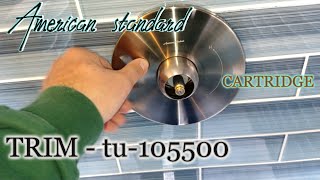
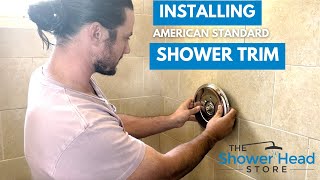
American Standard Shower Cartridge Replacement Instructions - Shower Valve Pressure Balancing Unit

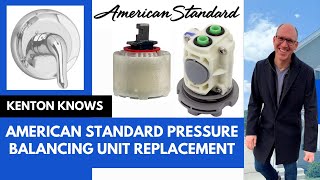
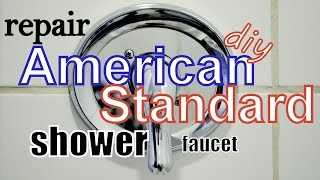
American Standard Shower Cartridge Replacement Instructions Shower Valve Pressure Balancing Unit
American Standard Pressure Balancing Unit: https://amzn.to/3cNbB1T
Part Number: M9521000070A/H
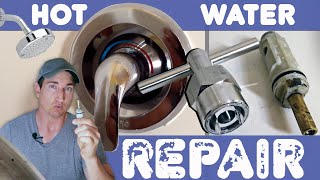
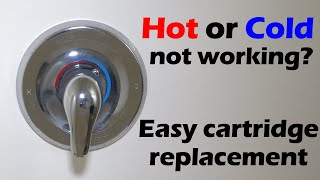
My American Standard shower valve has always worked with no problems. But the other day I got a hammering and thumping sound in my pipes along with sporadic water flow. Eventually the hammering stopped but now when I adjust the temperature, I only get scalding hot water or only cold water. I wasn't able to get any warm water at all. It was either all hot or all cold and nothing in between. After a bit of research I came to the conclusion that the pressure balancing unit has malfunctioned.
In this video I'll show you stepbystep how to replace this part and get the shower working normally again. The first thing to do is shut off water to the house. This is usually done at the shut off valve in the front yard near the street but your location may be different. After the water is off, turn on the shower and let all the water drain out until it stops. Then cover the drain because I don't want to lose any screws down there.
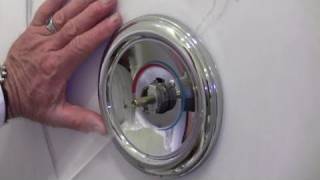
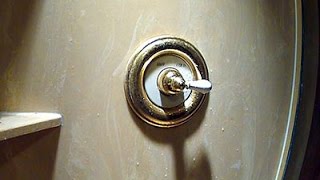
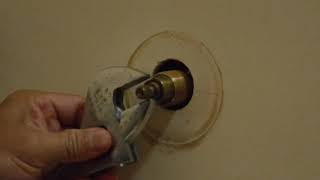
On the bottom of the American Standard shower handle, pop out the tiny cover. And it's totally possible that your cover could be missing. With the handle pulled all the way up, use an Allen wrench and loosen the set screw. You don't have to take it all the way out. Just turn the screw until the handle can be lifted off. Now the collar can be slipped right out.
I didn't remove the cover plate when I realized the cover was stuck on the tile with adhesive so I just left it attached. Now the main valve needs to be taken out by removing three flathead screws.
This inner part with the three holes is the American Standard pressure balancing unit. It's held in place by a brass retaining ring. Here, carefully take out the three screws around the ring. The round hole is positioned at the top center. When it's freed, be careful you don't drop the retaining ring inside the wall.
What's left is the pressure balancing unit. And to get it out, I used a paint can opener because I couldn't get enough grip with my fingers. It's actually in there pretty tight. There are little slots on the outer ring that fit the paint can opener perfectly. Just pull a little on both sides and the pressure balancing unit will come out. Now I can swap this out with the new part.
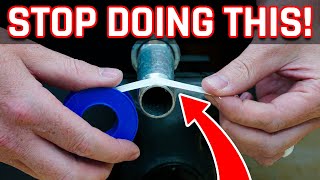
Before putting the new pressure balancing unit in, clear any debris you see in the water inlet inside the wall. Now just slip the new pressure balancing unit into the opening. Remember the round opening is at the top and the oval openings are at the bottom.
Now use the three short flat head screws and attach the retaining ring. I recommend tightening each one of these a little at a time so you get even pressure as the ring presses the seal of the pressure balancing unit into place. Now it's time to reattach the shower valve. Be sure to line up the round valve opening at the top with the round opening on the pressure balancing unit. Using the three long screws, tighten each screw a little at a time to get even pressure around the seals to prevent any leaks. And if you removed the cover plate, now is the time to reattach that.
I hope with this video you'll be able to learn how you can fix water hammering or hot and cold water problems on an American Standard shower unit. That way you won't have to call a plumber. And saving you and me money is what I love about doing these projects!
After the collar is slipped back in, hook the handle back onto the valve and then tighten the set screw to secure it to the wall. When it's tight, snap on the set screw cover. At this point turn the main water back on to the house and you'll have warm water again. You could do this repair in about 30 minutes easily.
Please have the pressure balancing unit on hand before you start this repair. You can see the part number and I've listed above in the description to make it easy for you to find! If this video was helpful please give me a thumbs up and hit the subscribe button to keep up to date on all my home DIY videos!
Disclaimer: As an Amazon Associate I earn from qualifying purchases.
***Equipment I Use For My Videos***
Canon EOS M6: https://amzn.to/2pwQ0Vq
Canon EFM 22mm f/2 Lens: https://amzn.to/31mLfLq
Tokina 1116mm Wide Angle Lens: https://amzn.to/33TFaYH
Fotodiox EF to EOS M Lens Adapter: https://amzn.to/31u3AGq
Comica CVMWM300A Wireless Microphones: https://amzn.to/31tbiAD
Aputure Amaran AL528W LED Light: https://amzn.to/2VRuwyK
Kamerar SD1 Camera Slider: https://amzn.to/2VUB5Ax
AVermedia HDMI Game Capture Module: https://amzn.to/31phsSp