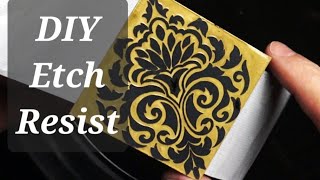
Toner Transfer for DIY PCB - using a laminator

I describe here the way I create images onto DIY printed circuit boards, using the common toner transfer method, but less commonly with a paper laminator.
Step 1) print out your design with a laser printer these are printers that use toner, not technically an ink, which is a very fine plastic powder. This powder is fused to the paper with a hot roller inside the printer. The toner essentially melts onto the paper.
I use a glossy surfaced 'photo paper' intended for ink jet printers. The paper I use is 150g/meter squared weight that comes from a local stationers store. The glossy surface seems to be just a high calendared finish, and is not the result of an emulsion or other coating (like Dextrin). This means there is limited risk of this glossy surface 'melting' in the laser printer's fuser roller.
2) Sand down the copper surface with a fine grade sandpaper I used 600 grit 'wet' paper, but avoid the use of water. NOTE: in recent PCB making, I am now using a normal dish washing sponge that has a plastic scouring pad layer. It is less abrasive, but still effective in removing oxides and keying the surface of the board.
3) Clean the resulting surface with a good degreasing agent, like isoproply alcohol.
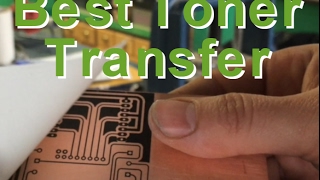
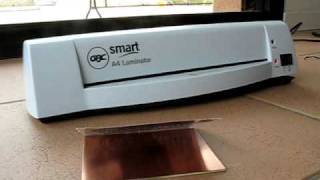
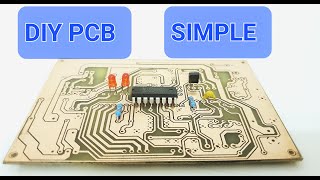
4) Line up the toner transfer paper onto the pcb copper and start passing it through the (already warmed up) laminator.
I have not counted the number of passes, but you can expect to do this 10 times or more, since you need to get heat into the copper and press the paper onto the copper thoroughly.
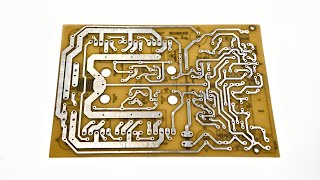
5) While warm, you can slowly peel away the paper from the copper. If enough heat and pressure was applied, the toner will fuse to the copper, and the gloss surface behind the toner will actually tear the paper surface: the copper/toner/gloss paper comes away from the rest of the paper.