Replacing the Pinch Detect Terminals | Litter-Robot 3
LitterRobot’s yellow light flashing quickly? If you followed • Checking For A Pinch Detect Fault | L... or • Troubleshooting the Quickly Flashing ... troubleshooting steps and have identified a pinch sensor fault, this guide will help you repair your LitterRobot 3 with simple steps.
If you need to replace the pinch detect terminals on your LitterRobot and the unit is out of warranty, the process is simple and quick. For those who are the least bit handy, the job can be completed in a matter of minutes.
Tools needed:
A Phillipshead screwdriver
A screwdriver with a small, flathead
A pair of needlenose pliers.
If you are under warranty, you can access replacement parts at no cost. Order a onetime replacement from your account.
Pinch detect replacement steps:
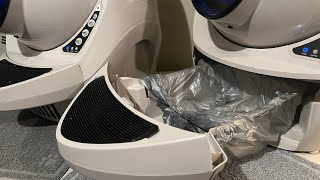
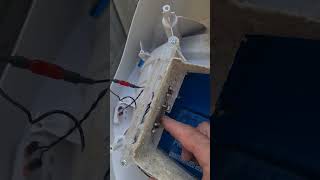
First, you will need to remove the bottom of the base. Simply flip the base over and unscrew its nine screws. Lift it off gently, because it is still connected by a wire, and set it aside.
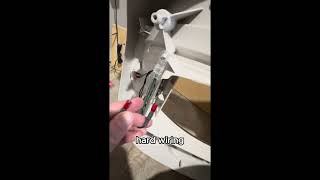
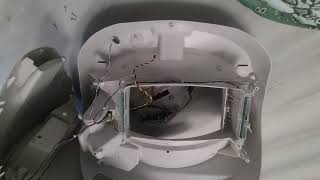
Now, use your needlenose plier to disconnect the two black wires from the pinch terminals. Then, gently grasp each of the pinch contacts with your pliers. Wiggle and lift each one out of the assembly.
To install your new, replacement pinch contacts, simply reverse the procedure. Start with the top pinch contact. Use your smallblade, flathead screwdriver to help position each contact properly. Make sure each one is completely seated in its slot. When you’re finished, check to see that the metal pieces touch each other.
Next, reattach the black wires. They are interchangeable, so it doesn’t matter in which order you do this. Gently press on them and make sure they are fully inserted.
Get the bottom, put it back on and tighten the nine screws. You’re in business.
Timestamps:
00:00 Introduction
00:18 Removing the base
00:57 Disconnecting the wires
01:10 Removing Pinch Contacts
01:34 Installing New Replacement Pinch Contacts
2:36 Reassembling the Device
The pinch detect terminals may appear different from what is pictured depending on when the unit was manufactured.
If the issue still happens despite following this guide. We recommend cleaning LitterRobot 3 regularly to ensure proper performance, extend the lifespan of your unit, and prevent errors. Use the following guide to deep clean LitterRobot 3:
https://www.litterrobot.com/support/'>https://www.litterrobot.com/support/...
Consult our related support articles or contact our team.
Support Articles:
LitterRobot 3: Pinch Contact Installation Guide https://www.litterrobot.com/support/'>https://www.litterrobot.com/support/...
LitterRobot 3 yellow light flashing troubleshooting www.litterrobot.com/support/article/litterrobot3yellowflashingquicklypinchsensor/
Visit our support center for more helpful articles: https://www.litterrobot.com/support/'>https://www.litterrobot.com/support/
Warranty information: https://www.litterrobot.com/explore/...
Subscribe for more tips and troubleshooting guides to keep your LitterRobot running smoothly! ✨ #LitterRobot #CatCare #TroubleshootingTips
/ @litterrobot
https://www.litterrobot.com/