ONE YEAR After My DIY FLEXIBLE SOLAR PANEL Installation

Here is a look at my flexible solar panels one year after the installation. They still perform great, but there is something I would do different next time when mounting with only Eternabond tape.
Download my FREE RV SOLAR PANEL GUIDE
https://www.rvwithtito.com/solarpane...
RV SOLAR PANELS AND EQUIPMENT I USE
https://rvwithtito.com/parts/rvsolar...
OUR FULL RV SOLAR, BATTERY, INVERTER SYSTEM (Diagrams, Parts, Descriptions)
https://www.rvwithtito.com/articles/o...
Flexible Solar Panel Installation Video
• How To Install a Flexible Solar Panel...
No drilling Flexible Solar Panel Installation Video
• INSTALL FLEXIBLE SOLAR PANEL on RV wi...
MORE ABOUT THIS EPISODE
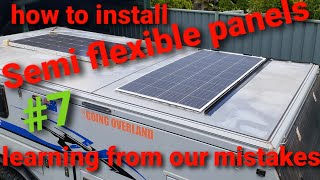
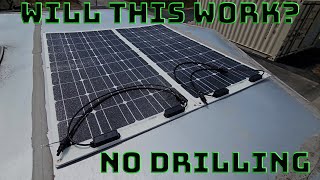
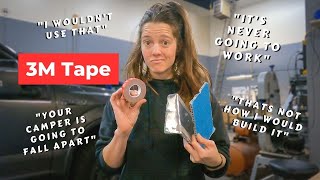
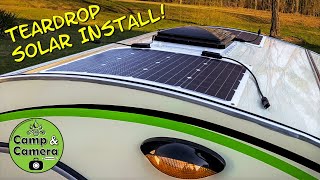
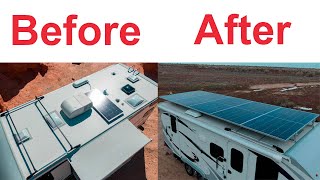
A year ago I installed three 100 watt flexible solar panels on the roof of my RV. Two of the panels were installed by drilling holes and using screws to hold the panel in place. A third panel was installed as an experiment using no screws and no drilling. I used Eternabond tape around the edges of the solar panel to secure it to my rubber roof. All three panels have been subjected to a year of sun, heat, rain and cold.
As far as solar performance, they all continue to perform very well though I don't cover this in the video.
The two flexible solar panels that are screwed in to the roof and sealed with Dicor lap sealant are still very strong and secure. The third panel secured with only Eternabond tape is still holding strong as well, but has had a little water collect under the panel. At first I was confused as to how water got under the panel. Then I noticed a small openning in the corners of the panel where water collected and seeped under the tape. I should have provided a way to prevent water from collecting in the corners. Nevetheless, some water seeped under the panel. Also I should have secured the edges of the solar panel better with some double sided tape. That would have prevented this problem as well.
Overall, the flexible solar panels are doing well.
Other topics discussed in this video:
Flexible solar panel installation on rv
How to install flexible solar panels on rv
Flexible solar panels for rv roof
Solar panel installation rv
Solar panel installation DIY
DISCLAIMER
The opinions expressed in our videos are our own or from a contributor. Before taking on any project or making a large purchase, we recommend you do your own research and consult a professional for advice. We are NOT liable for any damage to your RV or injury incurred as a result of following our tips, advice or instructions. We are not RV professionals or certified technicians. We are simply RV owners who work on our own RVs and have a desire to share what we learn with others. Be responsible and know your limits.
AFFILIATE DISCLAIMER
This video may include links to merchants with affilliate programs who pay us a commission on purchases made or actions taken after clicking the link. We are a participant in the Amazon Services LLC Associates Program. As an Amazon Associate we earn from qualifying purchases.
#rvwithtito #rvsolardiy #diy #rvlife #vanlife #solar #offgrid #doityourself #howto #boondocking #ideas