Marking the Fence Layout and Setting Your Posts

This video will cover the standard in ground installation of the posts.
Here’s a list of typical items required for marking your layout and setting your posts:
• A Drawing of your Layout Plan
• Tape Measure
• Walking Wheel or Measuring Tool for Long Runs
• Marking Spray Paint
• Steel Rebar or Wood Stakes
• Hammer
• Rubber Mallet
• Level
• Straight Edge to Fit Over the Post Hole
• HighVisibility String
• Carpenter’s Square or Angle Finder Tool
• Manual or Powered Post Hole Digger
• Bagged Cement for the Post Holes
• Wheelbarrow or Mixing Tub for Cement
• Shovel
• Hose or Water Source
• River Gravel (optional)
There are two other crucial items to make sure you have taken care of.
The first is getting a fence permit if your city requires one.
The second item is to have your utilities marked.
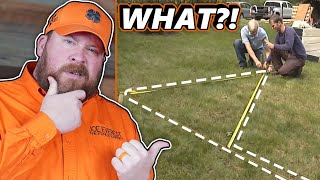
Start on an end or corner of the layout and mark the ground with your paint. This layout marking will represent the outer edge of your fence line. Using your measuring device, go the full distance to the next corner or end in the layout.
When I come to my next stopping point, I mark the ground with paint again. I then go back and connect my two points with the marking paint. Repeat this process until your entire layout has been marked.
The next thing you want to do is run your string line so you have a clean and straight reference point for digging your post holes.
With your rebar or wood stake in the ground, wind or tie your high visibility string to it.
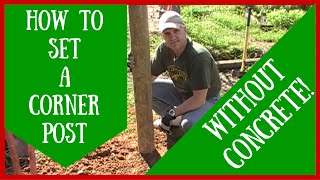
With the layout runs fully marked and the string line run, the last thing to do is go back and mark the individual post hole locations throughout. What we are looking to mark is the rough ‘oncenter’ location of the post. This ‘oncenter’ spacing will vary depending on if you are installing our Stronghold Iron or Infinity Aluminum fence.
With all our post locations marked on the layout, we can begin digging our post holes. There are two measurements you will need to determine before you begin digging the post holes.
The first is the width of the post hole. The rule of thumb is to aim for roughly 3x the size of the post for the size of your post hole. So if you have a 2” post, you will want a post hole roughly 6” wide.
The second is the depth of your post hole. This will vary depending where you are located and what length of post was provided.
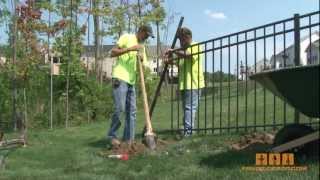
Now you can begin digging. Line up your digging tool with your marked location and begin digging. Try to dig your hole as straight down as possible. The rule of thumb for digging the post hole 3x larger than the post not only ensures enough concrete is used, but it also gives you some wiggle room in digging the post hole. You want to be as close as possible, but don’t worry about perfect.
As you dig your hole, keep the top of it clean and free of debris. You can check the progress of your hole by laying a straight edge of some kind across the hole and then measuring from the bottom of your edge with a tape measure to determine the post hole depth in relation to the yard surface. If you accidentally overdig the post hole, we do not recommend pushing dirt back in. Our recommendation is to purchase some river pebble or stone chips. Pour the gravel in and smooth it out until your depth measurement gets to where you want it.
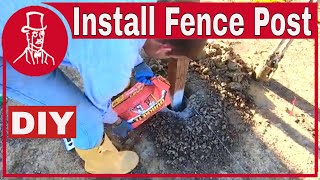
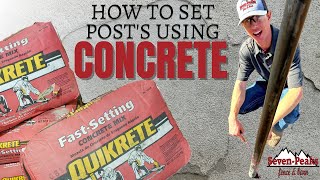
With all of your post holes dug, you are ready to mix your cement and begin setting your posts. When mixing your cement, you want it on the dry side. Aim for something roughly the consistency of chunky peanut butter. The reason you want a thicker, drier consistency is so your post will stand in the cement without any additional support.
Place your post in the rough center of the hole and begin shoveling in the cement. You will want to fill the hole within 23 inches below the yard line. We do this so that you can back fill dirt on top of the cement for a cleaner look and allowing grass or landscaping to grow back.
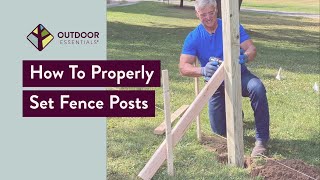
With your post set in cement, use your level to ensure the post is plumb on two faces of the post. You can finetune the post’s placement by tapping it with your rubber mallet. With your post set, move onto the next one and repeat the process. Be sure to pay attention to the spacing between your posts as you go so that your fence panels install correctly. I recommend going back and checking plumb about every 34 posts to make sure nothing has shifted.
Once all of your posts are set and the concrete has set up for a little bit, you will want to go back and fill that 23” at the top of the hole with the soil you dug out. You will want to slightly mound the dirt around the posts since the loose soil will likely settle and level out once it recompacts.
Jason Kauffman
Iron Fence Shop®
8002612729 Toll Free
[email protected]
www.ironfenceshop.com