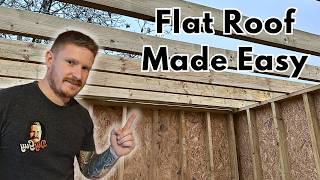
In-Depth Flat Roof Replacement Process by Charm City Roofing

The Flat Roof Replacement Process.
A Look at Charm City Roofing’s Work Process.
Flat Roof Tear Off:
The first step in the roof replacement process is to tear up the existing roof. For this residential flat roof, removal begins with tearing up the old torch down membrane. Large areas of the roof can be scraped and peeled off. Special attention is given to protruding features like drains, vents and skylights.
Underneath of the torch down membrane is a layer of foam board (fiber board) insulation. This is reusable if the existing material is in good condition, however, if there is any apparent damage, the board is replaced.
Beneath the insulation is the roof deck. These OSB sheets provide structural integrity for the entire roof. Again, if there is any water damage or rot, these boards will be removed and replaced.
Around the perimeter of the roof is aluminium drip edge. This component serves to direct water away from the roof edge and into the drains on the roof. The drip edge is uncaulked, unscrewed, and peel away for replacement.
Much like the edges, the chimney is wrapped in aluminium flashing and water tight membrane. These materials are stripped off to make room for the new roof.
The tearoff ends when the roof and area surrounding the home are cleaned of debris. This ensures that the roof is prepped for the installation process. The debris is hauled away so that new roofing materials can be brought in.
New Flat Roof Installation:
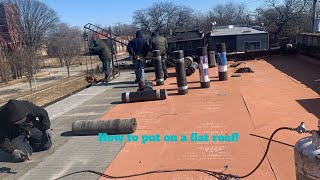
Now that the old roof is removed, and replacement roof decking is installed, the new roofing materials can be brought up and installation begins.
Any spots where roof decking was cut out or removed must be replaced with new OSB board. As the decking is patched, the crew works to replace foam board insulation. This particular roof required 3inch boards.
Once the foam board is fitted and secured, sheets of waterproof granular underlayment are rolled out to cover the entire roof. This material is fireresistant and textured to promote adhesion with the torch down. The underlayment is used to wrap any exposed fixtures, edges, and roof protrusions to ensure watertightness.
Custom dripedge is made for the entire roof perimeter. Aluminium sheet metal is measured and formed into gravelroof stop edging. The drip edges are fit over the roof edge and screwed into place over the underlayment layer. The drip edges seal the roof edges so that water cannot penetrate into the wood or insulation. They also direct water away from the roof edges and toward the roof drains.The screws holding the drip edge in place will be covered and sealed by the rubber torch down.
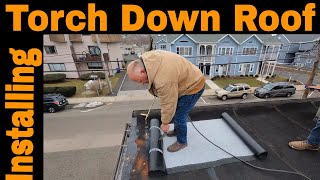
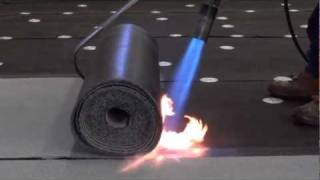
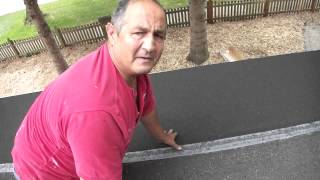
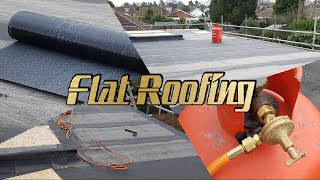
Rubber Torch Down Application:
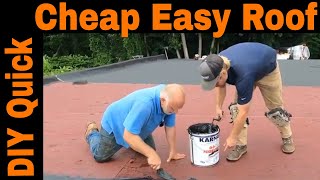
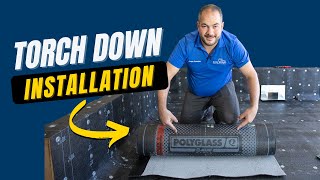
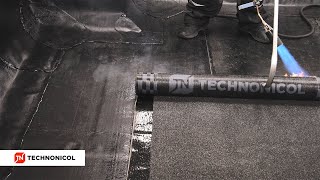
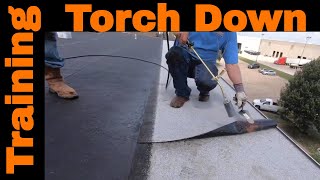
When the edging is in place, the roof is ready for its final layer. Rubber granulated torch down seals the roof off from water and weather. Heat from propane torches melts the polymermodified asphalt and secures the layer down.
The torch down is fit over corners, seams, and edges to ensure a watertight seal across the whole roof. Additionally, carefully planned cutouts form barriers for openings and architectural features.
Last, but not least, the chimney is refit with flashing and sealed tight with a heavy bead of caulk. The chimney flashing provides and extra protective barrier, and makes for a seamless transition from the brick to the torch down.
Once all of the nooks and crannies are covered, thoroughly sealed, and all layers are in place, the crew cleans off the roof and removes any loose debris.
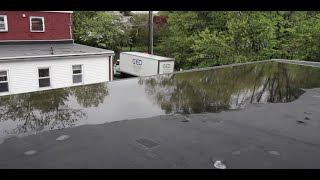
The finished product is a watertight barrier for your home that will last for a very long time.
Come Visit Us and Learn More About Our Flat Roof Replacement Process At: https://www.charmcityroofing.com/roof...