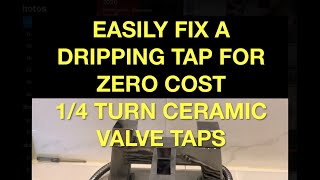
How to Replace a Ceramic Cartridge 💧 Dripping Tap Fix

Roger shows you how to replace a ceramic tap valve cartridge.
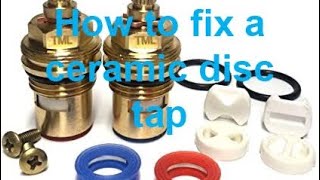
Replacement Brass Ceramic Cartridge
https://amzn.to/3y77SFk
_____________________________________
Things to consider when Replacing a Ceramic tap Cartridge
Replacing a ceramic tap cartridge is a common home maintenance task that can improve the function of your faucet and stop leaks. Most DIY enthusiasts can typically complete this project, but several important considerations must be made to ensure the process goes smoothly and effectively.
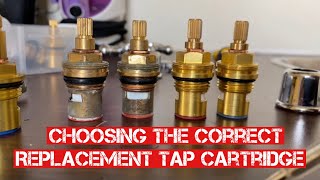
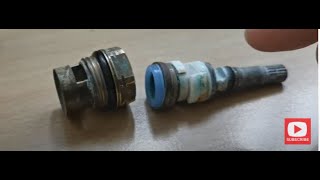
1. Identifying the Correct Cartridge: The first and most crucial step is identifying the correct replacement cartridge. Ceramic cartridges vary in shape, size, and notches, so it’s important to ensure the new one matches the old one. If possible, take the old cartridge to a hardware store to compare and ensure a perfect fit.
2. Turning Off the Water Supply: Before starting any work, turn off the water supply to the tap. This is typically done at the shutoff valves under the sink. Turning off the water will prevent any accidental flooding or water damage.
3. Tools and Materials Needed: Gather all necessary tools and materials before beginning the replacement. Typically, you'll need an adjustable wrench, a screwdriver, and possibly pliers. It's also a good idea to have some plumber's grease on hand to lubricate the new cartridge, which can facilitate smoother operation and help prevent future leaks.
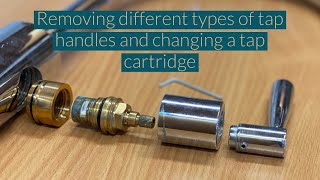
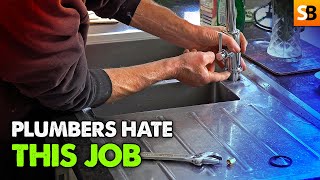
4. Removing the Old Cartridge: Carefully disassemble the tap, often starting by removing the handle and cover. The cartridge is usually secured with a retaining nut, which needs to be unscrewed. Please keep track of all parts and their assembly order; taking photos during disassembly can help.
5. Installing the New Cartridge: Once the old cartridge is removed, it's an excellent opportunity to clean the inside of the tap and check for any debris or damage. Apply a small amount of plumber's grease to the new cartridge before installation. Insert the new cartridge to align correctly with any notches or grooves.
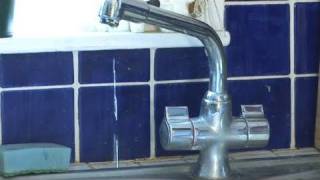
6. Reassembly and Testing: After the new cartridge is in place, reassemble the tap in reverse order. Once everything is tightened and back in place, turn the water supply back on and test the tap for proper operation to ensure no leaks.
By paying attention to these details, you can successfully replace a ceramic tap cartridge, ensuring a wellfunctioning, leakfree faucet.
==========================================
#Plumbing #DIY #howto
Newsletter: http://skillbuilder.uk/signup
/ skillbuilder
/ skillbuilderchannel
/ skill_builder
/ skillbuilderuk
Skill Builder Link Tree: https://linktr.ee/skillbuilder
As an Amazon Associate, we earn from qualifying purchases
Video library: https://www.youtube.com/skillbuilderc...
We Support Charity Water: https://www.charitywater.org
◾ Out of respect to our sponsors and followers, we'll remove comments that do not follow expected standards of politeness and decency.