How to paint this spectacular moonlight painting in under an hour!
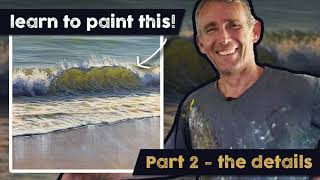
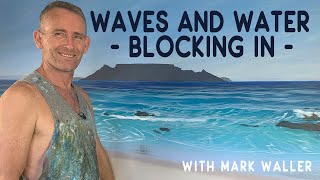
Join Mark Waller in studio to learn how to paint this spectacular moonlight painting, start to finish in just under an hour! You will not believe the colour and realism you can get into a painting that is basically set in the dark. This romantic, moonlight scene will teach you about painting the negative space between waves, and was originally the focus for a recent workshop Mark taught titled "Painting the NotWaves". Learning to paint waves in this way really teaches you about light and reflections, as well as creating dynamic realism with Mark's "warm to cool" principle. This one concept will change the way you paint realism forever. Big call? Yep!!
Materials needed for this tutorial:
Canvas:
45cm x 61cm portrait orientation
Paints:
For Background:
Mark uses Atelier Free Flow (but you can use Atelier Interactive)
Pthalo Blue
Dioxazine Purple
Titanium White
Cadmium Yellow Medium
For the "Not Waves":
Mark uses Atelier Interactive (but you can use Atelier Free Flow if you want):
Burnt Umber
Dioxazine Purple
Pthalo Blue
French Ultramarine Blue
Permanent Alizarine
Cadmium Yellow Light
Cadmium Yellow Medium
Titanium White
Brushes:
For the background: 7cm house painting brush
For the waves: Size 68 soft flat brush, an old scrubby kind of flat brush that will create a softer mark, another soft flat brush size 46, very small flat brush size 24.
Extra:
White chalk
Chapters:
00:00 Gather your materials
00:48 Mix and paint your first background colour
02:13 Mix and paint your second and final background colour
04:11 Chalk in your wave scaffolding
04:45 Start painting your lightest lights to create waves
07:02 Start mixing and painting your next darkest dark for the waves
11:43 Mix and paint your next lightest light for the waves
15:26 Change brushes, mix colour for the faces of the waves
17:16 Change brushes again, mix and paint your next darkest colour for the waves
20:51 Mix and paint a dark shadow colour here and there
24:55 Mix your next lightest colour and reestablish the light through the middle
31:54 Mix the next transitional colour next to the previous one and paint the waves
35:20 You could finish here if you like! Keep going to get even more life in this painting
36:17 Go back to the face of the waves, creating the lip
37:00 Using neat white to bump up the contrast and reflective quality
40:31 Create a realistic reflection colour to get even more colour in to your picture
42:28 Mix up a colour to create your lip of the wave and whitewash spraying off the back
46:01 Change brushes to something even softer and mix up to paint an unexpected colour here!
48:20 Mix up another warm colour to create a gorgeous transition colour between the red and white.
49:20 Dry brushing technique to warm up your painting with this previous colour
50:22 Finishing off with pure white and a smaller brush
Join this channel to get access to perks:
/ @exploreacrylics
For more great acrylic painting tips, techniques and tutorials to improve your painting processes, make sure you check out Mark's tutorial website at:
https://www.exploreacrylicpainting.com
For Mark's tutorial products including his Beachscapes Paint Recipe Book, downloadable and streamable DVDs on painting water and waves, painting "start to finish" downloadable tutorials (the VLogs) and ebooklets, go to his shop here:
https://www.exploreacrylicpainting....
Want to look at Mark's available works? For limited edition prints and artworks go to his art website at https://www.markwaller.com.au