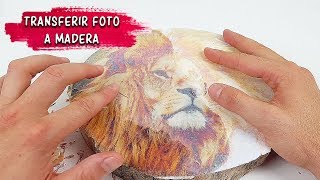
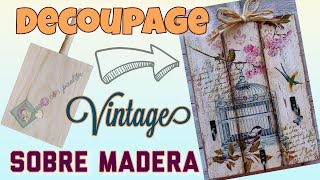
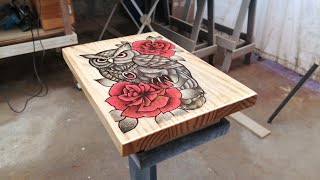
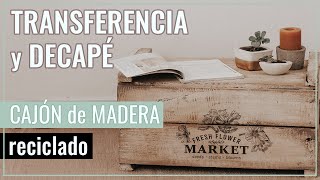
HOW TO MAKE IMAGE TRANSFERS on WOOD and a VINTAGE FINISH.

Hello creative family: today I come with a complete tutorial or step by step to learn how to make the classic transfer technique on wood.
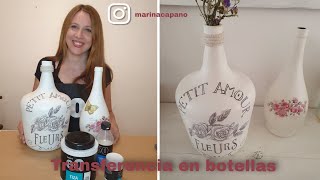
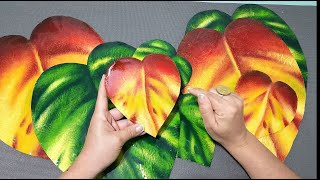
We will use both purchased papers or industrial ink and prints that we can make at home with the images we want.
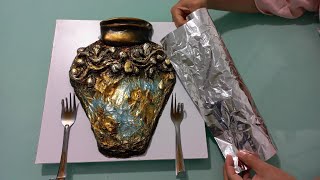
To finish the project we will do a two step crackle finish with a vintage effect.
I hope you like it and that it will help you in your ideas and encourage you to try it.
MATERIALS
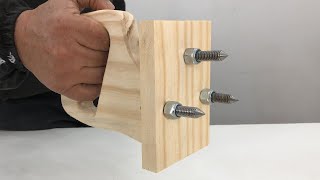
✂ Wood, in my case rustic slices of 1 cm thick.
✂ Printed images
✂ Medium for transfers; you can substitute it with quality white glue
✂ Varnish
✂ Acrylic paints
✂ Twostep cracker
✂ Wax or patina
ENLACE VIDEO: Shabby Chic Tray ttps:// • BANDEJA Sʜᴀʙʙʏ ᴄʜɪᴄ ℕ PASO A ...
ENLACE VIDEO: Organise your tapes: • para tus ...
✅PERMANENT DISCOUNTS
10% DISCOUNT on the entire @Resin Pro website by entering the code: CREA2CONPASION. https://www.resinpro.es/
LIFESCRAFT https://lifescraft.com/
DISCOUNT CODE : Z3156 (20% off)
For purchases of craft supplies you have a DISCOUNT OF 5% on the entire website https://conideade.com/ by entering the code: CREA2CONPASION.
KOKOROSASTUDIO: https://bit.ly/3Ewp2OH They are giving us a 25% discount coupon for your purchases, not bad at all!
CODE: L24411
If you liked this craft and you don't want to miss any video, stay with me and SUBSCRIBE to the Channel✔ / crea2conpasión .
Give me a LIKE and SHARE on your social networks! And don't forget to turn on the little bell!
FOLLOW ME?
*Instagram: / crea2conpasion
*Facebook: / crea2conpasion
*Twitter: / crea2conpasion
*Pinterest: https://www.pinterest.es/Crea2conpasion/
*Blog: https://goo.gl/vcGFGd
Contact COLLABORATIONS AND BRANDS
Email: [email protected]
#transferImages #transfer #tutorialtransfer #crea2conpasion
⏰ TIMES
0:00 Introduction
0:25 Materials
0:50 Preparing wood
3:30 Transferring images
6:20 Removing cellulose
9:55 Fix image
10:30 Splashing
11:10 Crackle 2 steps
14:32 Final result