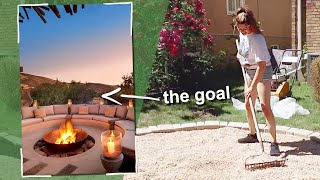
How to Build a DIY Patio and Fire Pit Seating Area

In this video I’ll show you how to build a DIY gravel patio and create a gas fire pit seating are with POLYWOOD chairs. I’ll also show how I created a D.G. (decomposed granite) and gravel pathway with steel landscape edging. Well at this is how I built mine and it’s working great! In addition to the video I’ve outlined the entire process below and will keep it updated with answers and explanations to frequently asked questions.
PATIO
1. Excavate down 6 inches.
2. Add rich soil to the boarder for planting later.
3. Cover patio area with landscaping fabric.
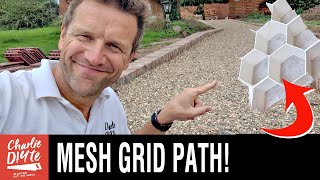
4. Add steel edging or plastic bender board to the patio boarder. A taut string tied to two stakes helps to mark any strait lines. I used this for the pathway edge.
5. Add 4 inches of road base (crushed rock) to the entire patio are, then level and compact it.
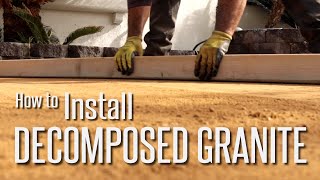
6. Next I added one inch of decomposed granite and compacted that. This could be the final step if you want want a D.G. patio, but I used this layer as a base for the final layer.
7. Finish the patio with a 1” layer of gravel for which I used my personal favorite Sonoma Gold Pathfines. Pathfines hold in place
better than pea gravel, but they don’t get muddy like D.G. Does. This stuff is awesome.
My pathfines source: https://www.gohasties.com/product/son...
CHAIRS
These POLYWOOD Adirondack chairs might just be my favorite part of this patio. POLYWOOD makes amazing outdoor furniture out of landfillbound, and oceanbound plastics! Not only are they comfortable and beautiful, but they are also extremely durable and come with a 20 year warranty, yes 20 YEARS! Oh, and free delivery in the U.S.! I highly recommend these chairs.
THE CHAIRS: https://bit.ly/2HpkMZF
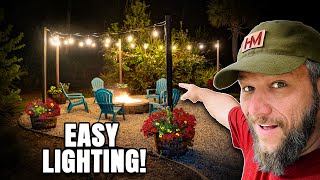
FIRE PIT
You’re probably wondering where I got this fire pit I was fortunate to find it as a damaged item on Overstock a got it for a major discount. I wish you luck in your search.
I knew I wanted a gas fire pit, but it was way to expensive to plumb gas all the way to this spot, so I opted for the propane fire bowl which is a delicious I am very pleased with, especially after concealing the gas line in PVC pipe that I painted with Gorilla glue then covered with gravel. I concealed the tank under a hollow plastic rock that I found in the irrigation section of my local nursery.
FIRE PIT LINKS: These are NOT the fire pit that I used, but they look similar:
1. https://www.amazon.com/gp/product/B01...
2. https://www.amazon.com/gp/product/B01...
Propane Tank Cover: https://amzn.to/3ghpkjo
Plants
Cousin It plant
Coffeeberry
Western Sward Fern
Fertilizer
E.B. Stone Organics Sure Start
GARDEN PRODUCTS I USE: https://www.amazon.com/shop/urbanfarm...
As an Amazon Associate I earn a small commission from qualifying purchases.
Irrigation Video
• Installing Irrigation For Vegetable G...
FOLLOW ME ON:
Instagram:https://www.instagram.com/urbanfarmst...
Facebook: / theurbanfarmstead
TikTok: https://www.tiktok.com/@urbanfarmstea...
FAQs:
Ask and you shall receive
Q: Why all of the layers? Are they really necessary?
A: For my space and vision these layers were the best way to achieve my goals. The base rock layer is important for stability and drainage. As for the layers above that I I stated in the video you could finish with the DG layer if you want a DG patio, but in that case I would apply a 2” layer of DG. You could also skip the DG and just do a 2” layer of pathfines, but they cost twice as much as the DG which was the main reason I did 1” DG first.
Music
Golden Crates Adobe Stock licensed Dusty Decks/Epidemic Sound
Lofihiphop Adobe Stock licensed Flashinmusic/Hamendo
WillowTrees Adobe Stock licensed Guustavv/Epidemic Sound


![My 4Day Fire Pit Patio Build [Full DIY Project]](https://i.ytimg.com/vi/gIxzP8TnMeM/mqdefault.jpg)