How I built a modular wargaming board for 40k | Part 3: Roads/Tarmac | Terrain Building Tutorial

Welcome back to the Wasteland!
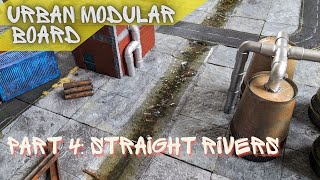
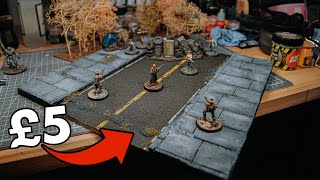
Any of us that have played Fallout 4 know there are roads, a lot of roads, a lot of very long broken roads so any Fallout inspired urban wargaming board was going to have to feature roads.
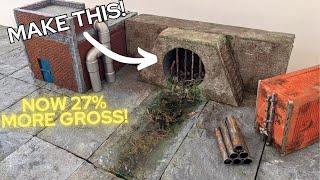
In a future video I think I might break up and dirtyfy them even further but in terms of the look and the feel of a basic road I think it works, and they match up perfectly with the concrete tiles which I made in the previous part.
Please watch part 2 if you want more detail on how the concrete pavement look is achieved as I've only gone over it briefly here.
If you're interested in making your own board then buying through these links will help support this channel at no extra cost to you.
Materials and Tools used:
Product links below.
Pen for Road Markings You can buy white and yellow from this link:
https://amzn.to/49WHJe6
20mm Thick 2ft x 4ft XPS Boards each one enough for 8 tiles: https://amzn.to/43ulY3p
MDF Mounting Boards:
https://amzn.to/4amgAld
Instant Nails to attach boards to foam:
https://amzn.to/3UCnOfN
Glue Gun: https://amzn.to/43unJ0v
UV Resin: https://amzn.to/3VLbwD4
UV Torch: https://amzn.to/4akSiIT
Large Cutting Mat: https://amzn.to/4anZ0xm
Basic Resin: https://amzn.to/4al1FbB
Flock:
Grey Stone https://amzn.to/3TY4c5t
For rocks and sand I used rocks and sand
Proxxon Hot Wire Cutter https://amzn.to/4ajgKug
Handheld hot wire cutter https://amzn.to/3vGHIN0
Craft Knives A large and small snapaway blade and 20 replacement blades absolute bargain and a great product https://amzn.to/3Vr53wG