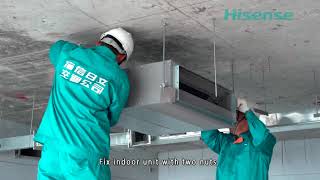
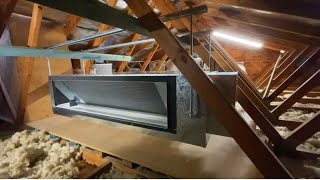
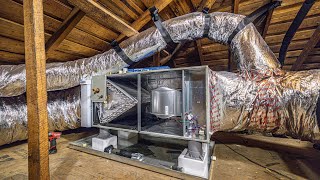
Easyzone Plenum: Assembly

To assemble the indoor unit:
1. Locate the drilling holes. If they are covered, use a screwdriver to uncover them to fix the Easyzone to the AC unit.
2. Place the plenum over the AC unit's supply vent and fix it using the screws.
3. After tightening the screws, make sure the connection neck is insulated to prevent the formation of condensation. Use strips of 25 mm thick insulation material (glass wool or polyethylene foam).
4. Lastly, use threaded rods to fix the Easyzone plenum to the ceiling through the tabs found at each end.
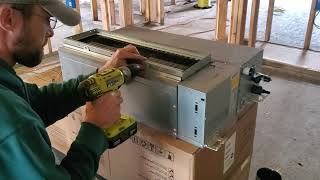
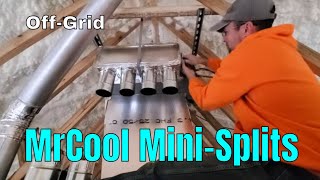
To connect the outside air supply:
1. Remove the fixed elliptical neck by undoing the screws.
2. Remove the protective plate that covers the outside air intake and reattach the elliptical neck.
3. Bend or cut the cover found in the lower part of the supply dampers to allow the air to pass through.
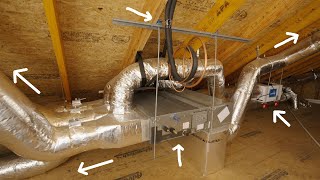
Lastly, connect the insulated duct to the dampers. Ensure that the ducts are properly extended, with no folds, to avoid increased load losses.
It is important to remember that all ducted air conditioning units currently on the market provide greater air flow in the central zones of the plenum; therefore the largest zones in the installation should be associated with the plenum's central dampers.


![Best Ductless Air Conditioner 2024 [don’t buy one before watching this]](https://i.ytimg.com/vi/MdS1ukAlZW0/mqdefault.jpg)