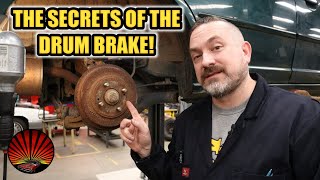
Drum Brake Replacement: Removing Assembly

Sign up for the Raybestos Brake STOP to access premium training videos from Raybestos: https://bit.ly/2TBs1hx
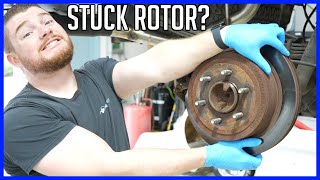
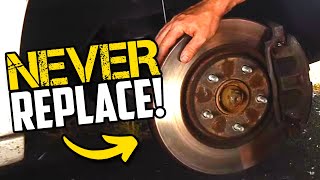
Disc brakes have become a standard for many modern vehicles in both the front and rear axles. However, drum brakes are still common to find on the rear axle of many vehicles on the road today. It is still important for technicians to know how to properly and safely perform a drum brake job. In this video series, we will walk you through each step of quality a drum brake job. In the first episode, we take a look at correctly removing the drum brake assembly.
Visit our Website: http://www.raybestos.com
Like us on Facebook: / raybestosbrandbrakes
Follow us on Twitter: / raybestosbrakes
Follow us on Instagram: / raybestos_brakes
Follow us on LinkedIn: / raybestosbrakes
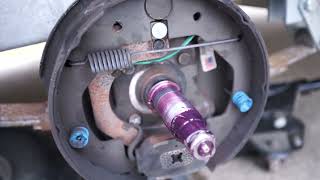
Before you get started, we recommend taking a picture of the brake assembly. This will help you remember where everything goes once you put everything back together.
Step One: Remove Return Springs
Return springs return the brake shoes to their resting condition when the brake pedal isn't applied. Brake springs are color coded so you can match up the springs out of the kit. However, don't worry if the colors don't match the springs on the vehicle. As long as you ordered the right kit, the springs will fit fine.
We recommend using the spring removal tool shown in the video. This is an easier and safer method than a pair of pliers. Regardless, always make sure to wear safety glasses when removing drum brake hardware. Hook the tool behind the spring and turn the handle to lock the spring in place. Pull the spring out of place to remove the spring.
Step Two: Remove Hold Down Springs
Hold down spring kits do exactly what their name says. They hold the brake shoes down and keep them in place. There are three main components in a holddown spring kit: the springs, set cups and pins.
We recommend using a special tool, oftentimes referred to as a spring compressor tool, to remove the hold down springs. This tool allows you to compress the spring and turn the set cup so that the pin is no longer locked in place. This will allow you to remove the hold down springs.
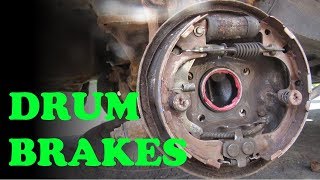
Step Three: Remove Brake Shoes
Now that the return springs and hold down springs are removed, you can remove the brake shoes. If you are reusing the selfadjuster, you must take off the adjuster spring to remove the adjuster from the assembly.
Step Four: Remove Parking Brake Cable Retainer Clip
If your drum brakes also act as the parking brake, you will need to remove the parking brake cable retainer clip. This will release the brake cable. This clip should pop off with by using a flat head screwdriver.