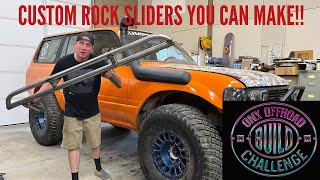
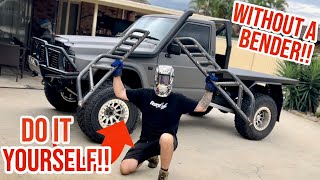
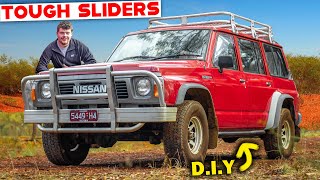
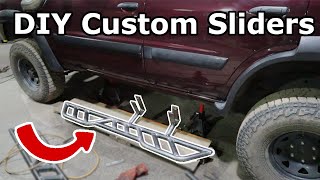
Building ROCKSLIDERS without a bender!?!

#build #4x4 #offroad
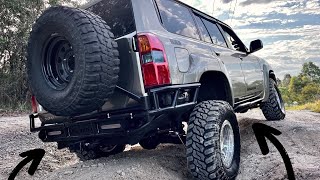
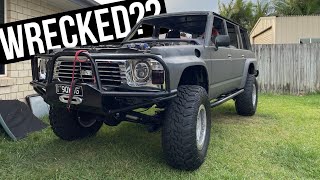
How to build DIY Custom sliders that look super aggressive without a bender!! Kicking off the barwork on the Patrol is a DIY set of sliders from DIY Customs! these kits are epic as it allows you to get the perfect angles and aggressive style with the sliders! Sharing some tips and tricks along the way I build a super aggressive set of strong sliders! these will tie in so nicely with the barwork we have lined up! CANT WAIT!!
DIY Customs;
https://www.diycustoms.com.au/?sca_re...
Facebook DIY Customs
https://www.facebook.com/profile.php?...
Instagram diy_customs1
/ diy_customs1
follow these steps below so we can help you out
please specify if you would like to change the design of the slider kit
also specify if you would like to add chassis brackets and gussets to the order
i have outlined below 7 easy steps for you to follow, with this information, we can give you the most accurate quote for your needs
thank you
peter
Step 1
We will need to know the exact length of the main slider section.
This is best done by measuring from just behind the front mud guard and measuring to the rear of the vehicle, to either the rear mud guard or end of the cab
Step 2
Once you have that measurement, round it down to the closest 100 mm increment ( 1600 , 1700 , 1800 ,1900 ETC )
As we make our slider kits in increments of 100 mm
Step 3
now its time to choose the design you want for the main slider, at this point in time we offer 3 designs which are
The standard design
( standard width all along the length of the slider )
The single step out design
( the rear section of the main slider section kicks out as a bigger step )
The double step out design
( the front and rear section of the main slider section will kick out, with the middle being the standard width )
All designs interchange with each other, for example, the angled infill pieces of tube fit into the standard design, the standard infill tubes at 90 degrees will fit into the smaller part of the step out design
Step 4
Choose how many infills you want in your slider kit
The standard kit comes with 4 infill pieces in total ( 2 on each slider section )
The single step out kit comes with 4 smaller angled infill tubes and 2 larger infill tube ( 2 smaller angled infill tubes and 1 larger infill tube both on an angle for each slider section )
Step 5
Choose if you want your kit to come with chassis brackets and gussets, and how many you want of each
A normal kit will come with 2 lengths of flat bar that is 1500 mm long 40 mm wide x 5 mm thick or chassis brackets, whichever you choose.
The gussets are a 4 mm thick steel plate that is 85 mm x 85 mm on a 90 degree angle ( triangle plate ) with a notch right on the corner of the 90 degree corner
Chassis brackets are made to order, we will need the exact width and height of your chassis, best way is to find the places on the chassis where you want the brackets to go, and measure from those places ( as chassis usually get wider and narrower in different places on the vehicles )
Chassis brackets are made from 50 mm x 5 mm thick flat bar, that is pre bent, pre drilled with bolts, nuts, and washers provided
It is best to start your measuring on the side where the fuel tank is.
Step 6
we provide a standard set of 6 tubes that is 200 mm long that mounts to the main slider section and goes to the chassis bracket, we will need to know if you need the extended mounting kit, which is
2 x 200 mm long
2 x 280 mm long
2 x 350 mm long
Step 7
We will need to know if this kit will be getting picked up or will need to be freighted to you, we are located in Schofields 2762 sydney NSW, but we freight all over the country including Tasmania
We DON’T do brush bars and we don’t provide fully welded sliders
Merch: https://roamlyfe.com
INSTAGRAM: Roam_Lyfe
tags: build cost 4wd how to build a rig lift patrol cruiser suspension building offroad overlanding custom ute flat bed tray superior engineering suspension travel flex huge lift remote res coils built build how to fit flexy down travel barwork bullbar rear bar sliders custom diy build how to